stable diffusion 에서 openpose editor 설치 방법
extensions를 클릭하고 url에 사이트 주소 입력 후 하단에 install 을 클릭해준다

모두 설치가 되고 나면 installed에서
apply and restart ui를 누루고
stable diffusion을 종료 후 재실행 해줍니다.
https://www.gyan.dev/ffmpeg/builds/
Builds - CODEX FFMPEG @ gyan.dev
FFmpeg is a widely-used cross-platform multimedia framework which can process almost all common and many uncommon media formats. It has over 1000 internal components to capture, decode, encode, modify, combine, stream media, and it can make use of dozens o
www.gyan.dev
다음으로
https://github.com/fkunn1326/openpose-editor.git 입력 하고 다운받는다
GitHub - fkunn1326/openpose-editor: Openpose Editor for AUTOMATIC1111's stable-diffusion-webui
Openpose Editor for AUTOMATIC1111's stable-diffusion-webui - GitHub - fkunn1326/openpose-editor: Openpose Editor for AUTOMATIC1111's stable-diffusion-webui
github.com
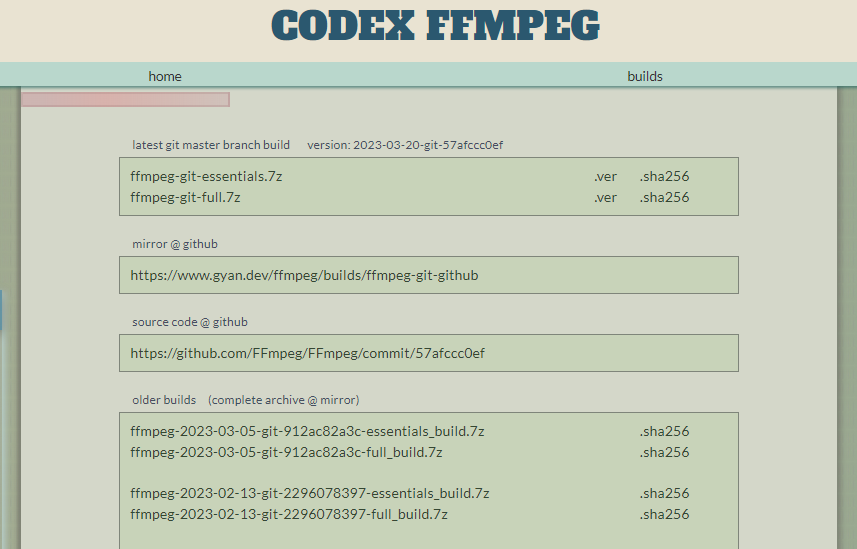
https://www.gyan.dev/ffmpeg/builds/
으로 이동해서
ffmpeg-git-essentials.7z를 다운받고 압축을 풀어줍니다.
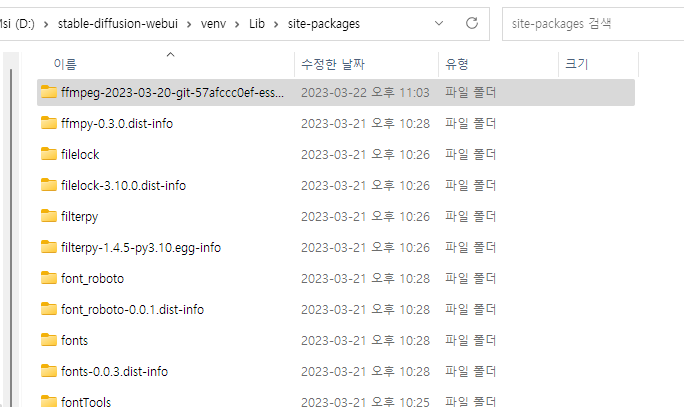
D:\stable-diffusion-webui\venv\Lib\site-packages
위 경로 안에 압축을 풀고
나온 ffmpeg-6.0-essentials_buil 폴더를 넣어주자
D:\stable-diffusion-webui\venv\Lib\site-packages 폴더에
위 압축을 푼 폴더를 그대로 복사하여 붙여준다.
다음으로 윈도우 버튼을 눌러 시스템 환경변수 편집으로 간다
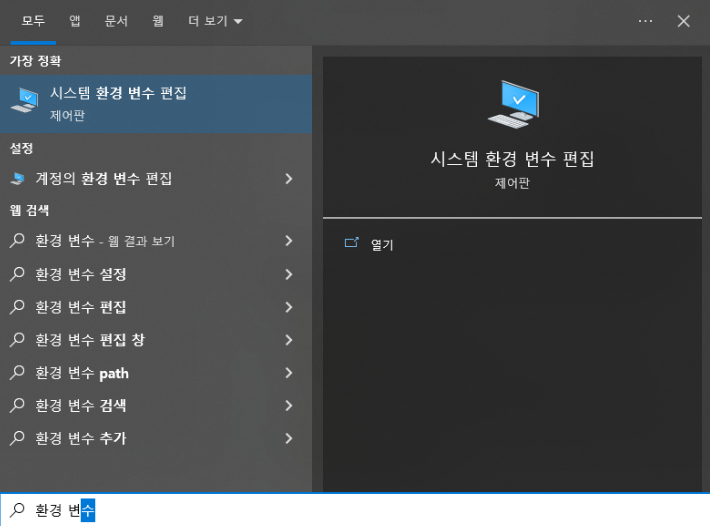
시스템 환경 변수에 들어가 환경변수 클릭 후
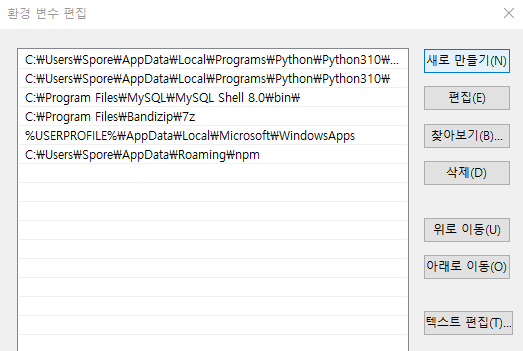
PATH에 새로만들기 후 D:\stable-diffusion-webui\venv\Lib\site-packages\ffmpeg-6.0-essentials_build\bin
입력하고 만들어 준다
이렇게 하고 WEBUI를 재실행하고 나면
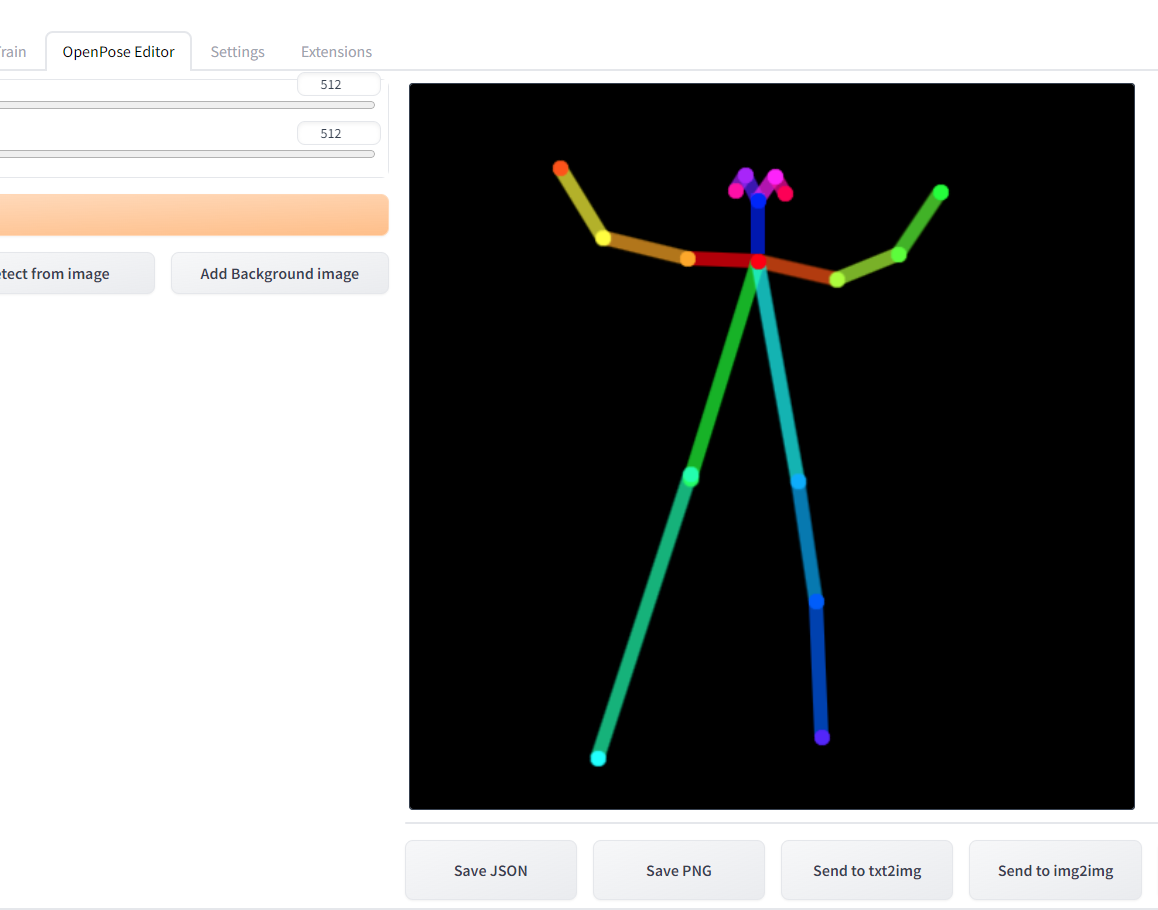
이렇게 실행 할 수 있는 탭이 생긴다
'IT News' 카테고리의 다른 글
| opencv 설치하기, 파이썬, python opencv (0) | 2023.03.23 |
|---|---|
| 유튜브 숏츠 만들기 (0) | 2023.03.23 |
| pip pycurl설치 (0) | 2023.03.21 |
| 자동이미지 파이썬 (0) | 2023.02.05 |
| 체크디스크(CHKDSK), 디스크 검사를 수동으로 실행하는 방법 (0) | 2023.01.19 |

댓글